A little over a year ago, I wrote about how I had made one of our bedrooms into my studio. Not perfect, but it was working OK.
For my birthday this year (in April), I had asked Tim for a bike. With COVID going on, we didn’t go out to buy anything. In July, we started talking about it again. We talked about the cost, not just of the bike, but also everything you need to ride a bike these days – helmet, special shorts, etc. And then Tim nicely tried to convince me that I might not ride it as much as I thought. Should I feel bad? Or does he know me too well?
What does this have to do with my studio? Well, he thought instead of a bike, I should get someone to help me design a more usable studio. I didn’t have to think too much and decided to go with the studio upgrade!! The bike, etc. would have been cheaper. 😘
I spent very little time researching design consultants before one day, in the mail came one of those booklets advertising local businesses. On the back page was an ad for Closets by Design. While I wanted more than a closet upgrade, they looked like a viable option. And, they were having a sale – 40% plus an additional 15% off. It was fate.
After checking them out online, I gave them a call.
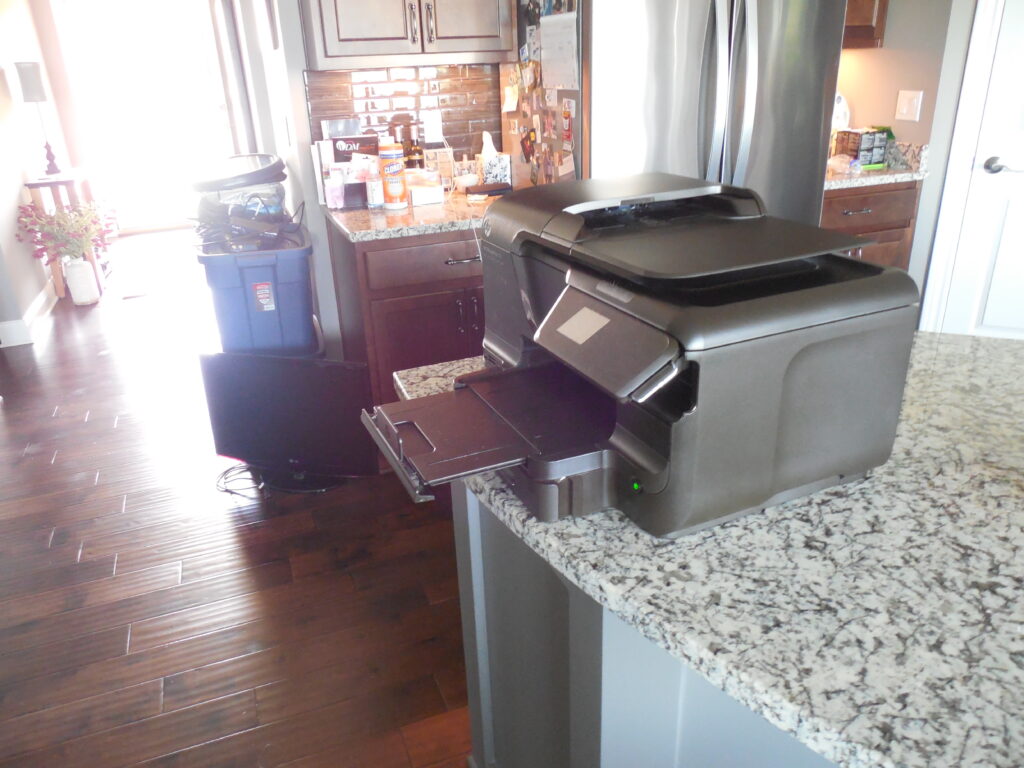
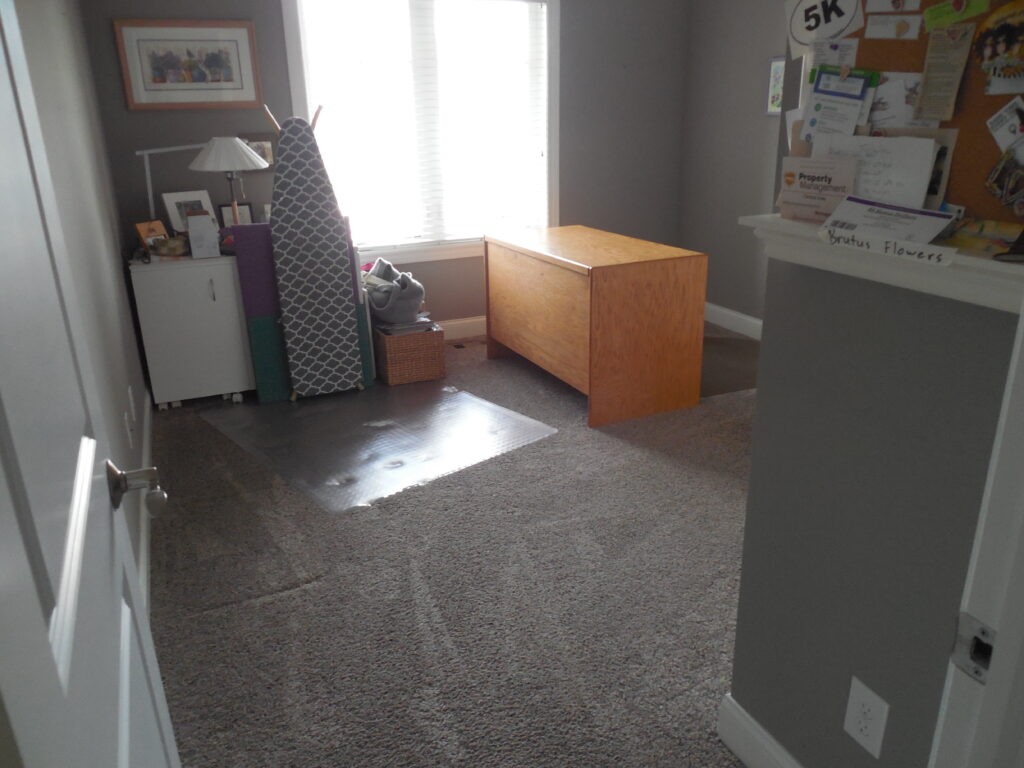
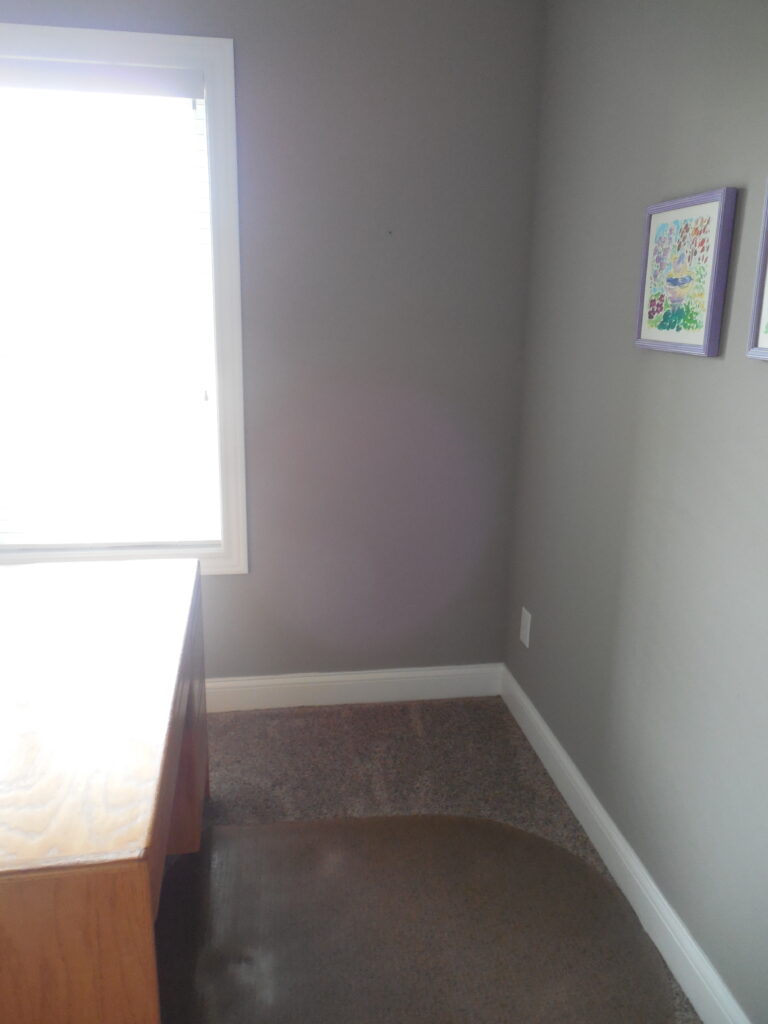
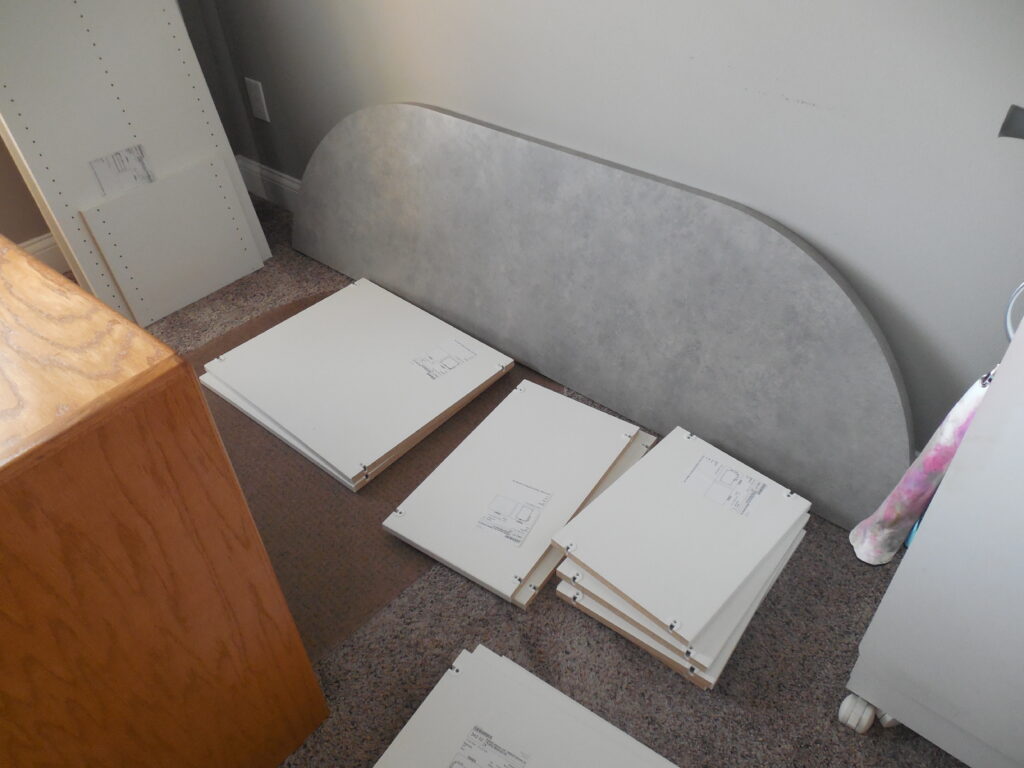
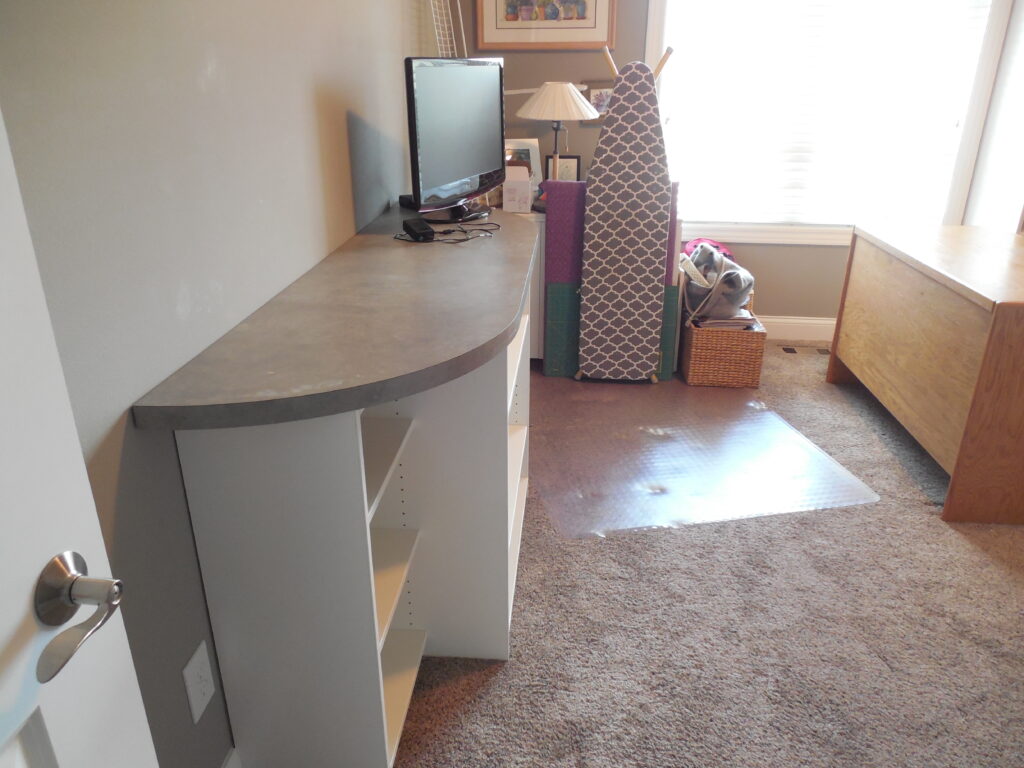
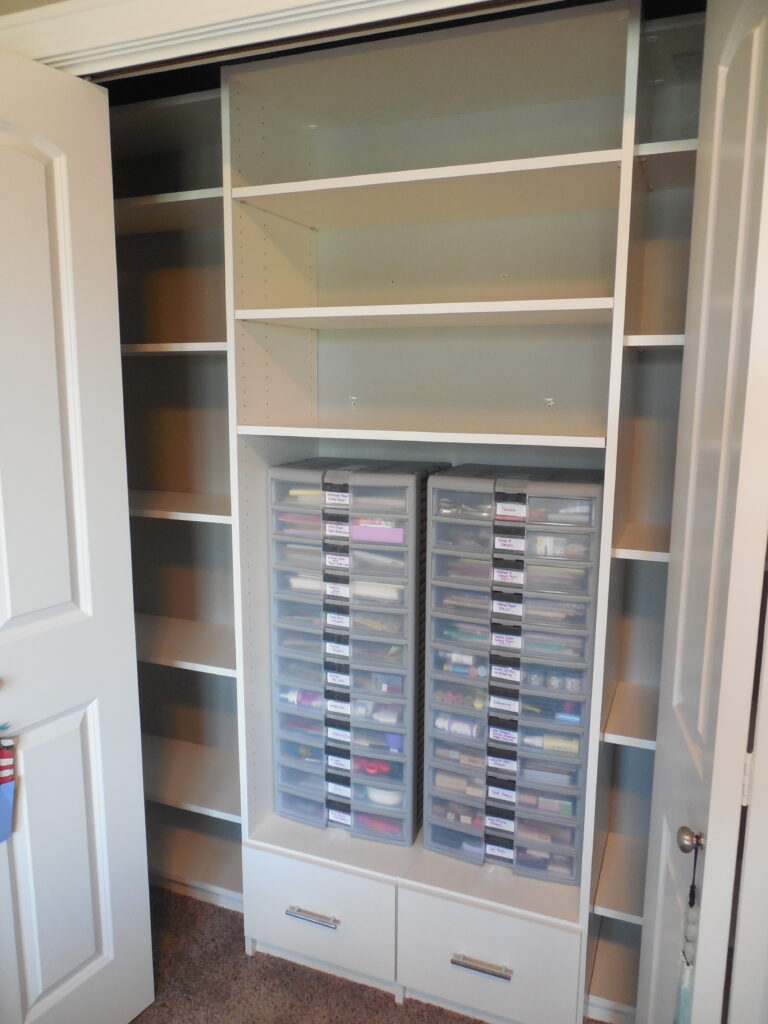
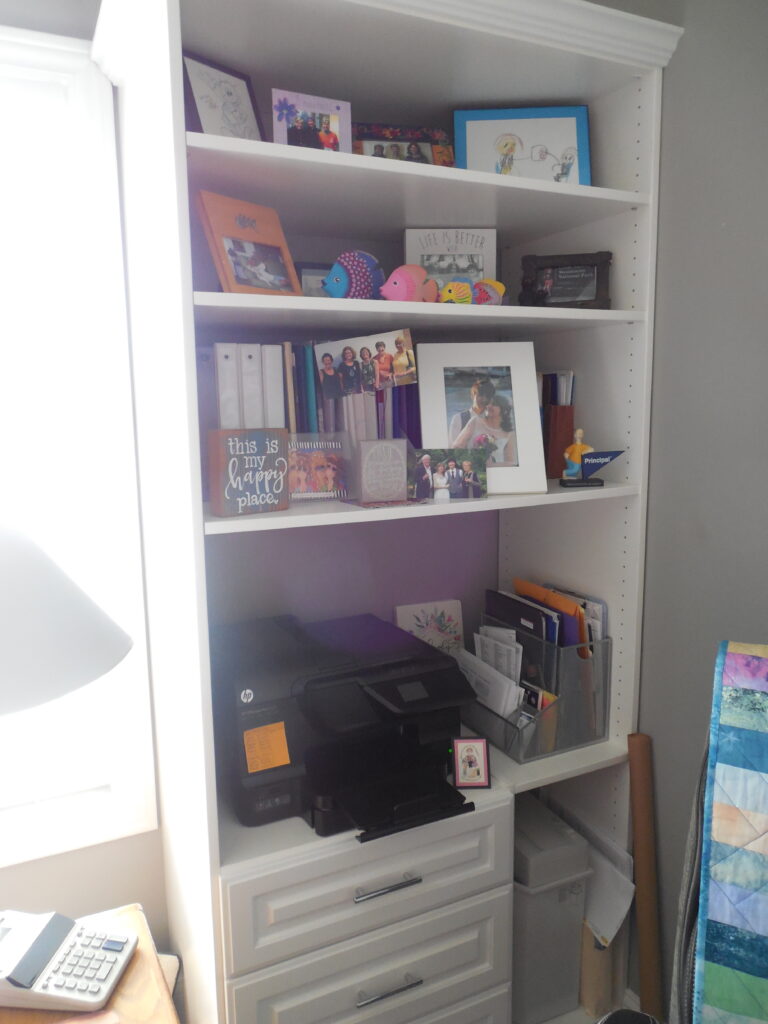
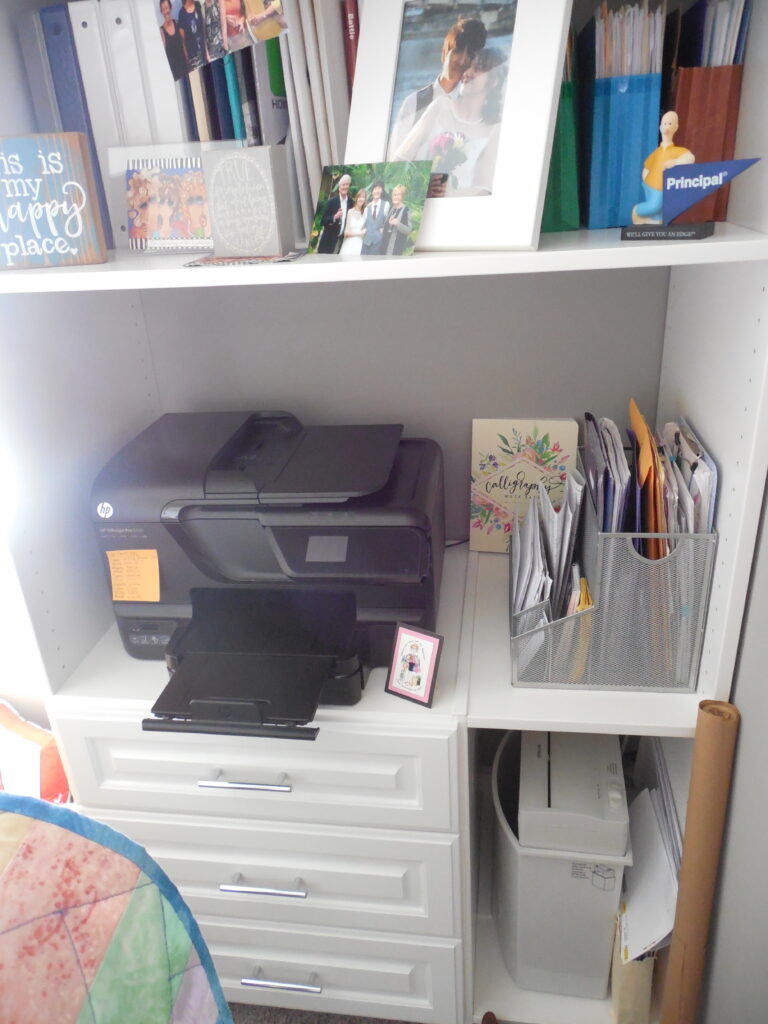
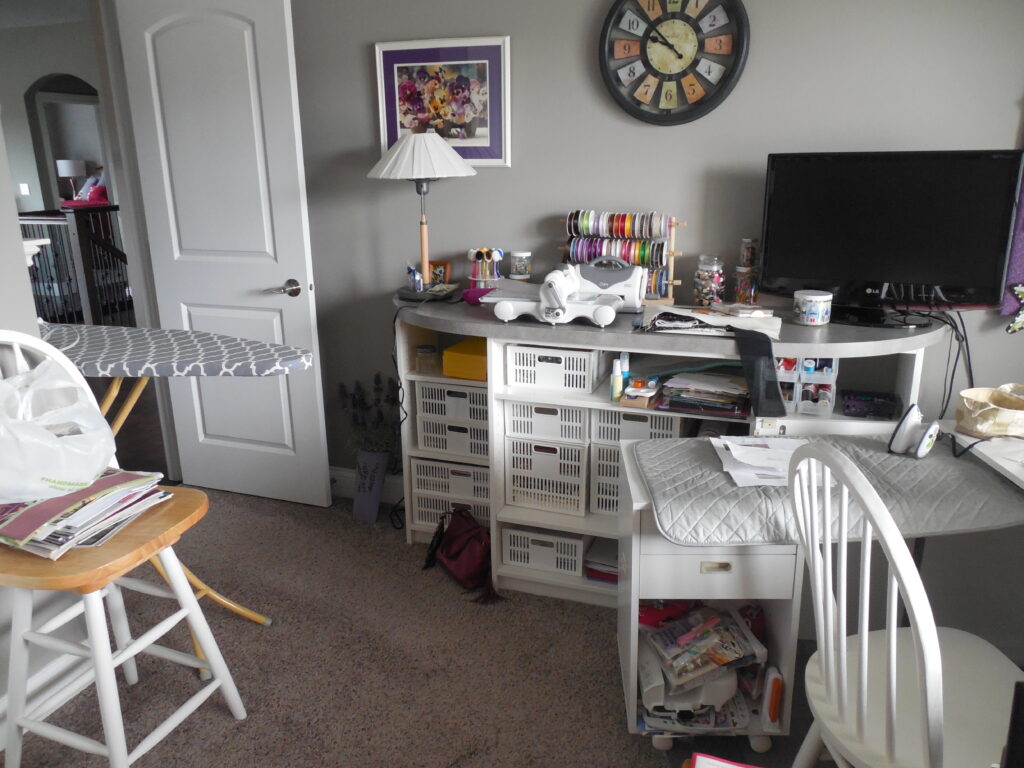
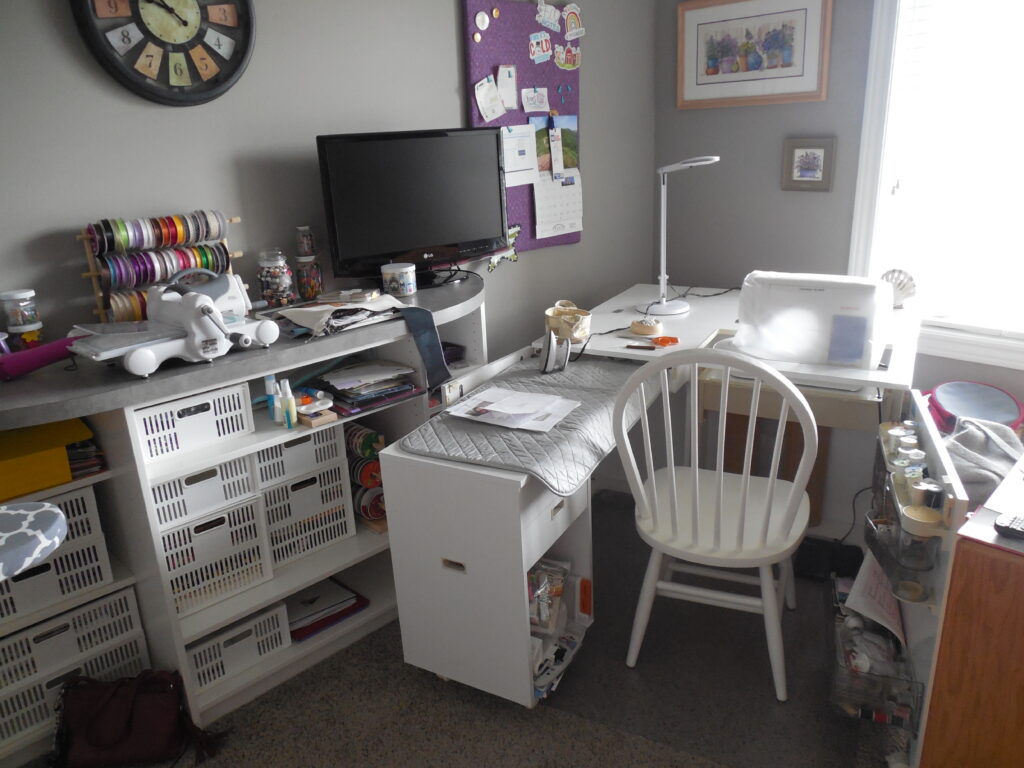
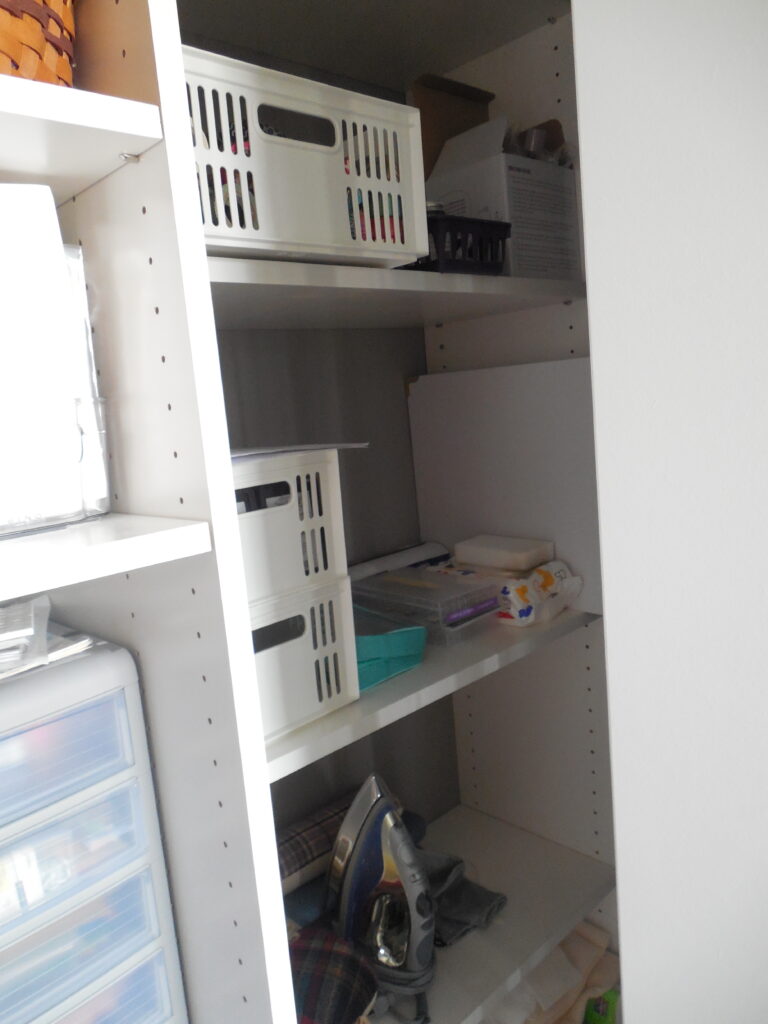
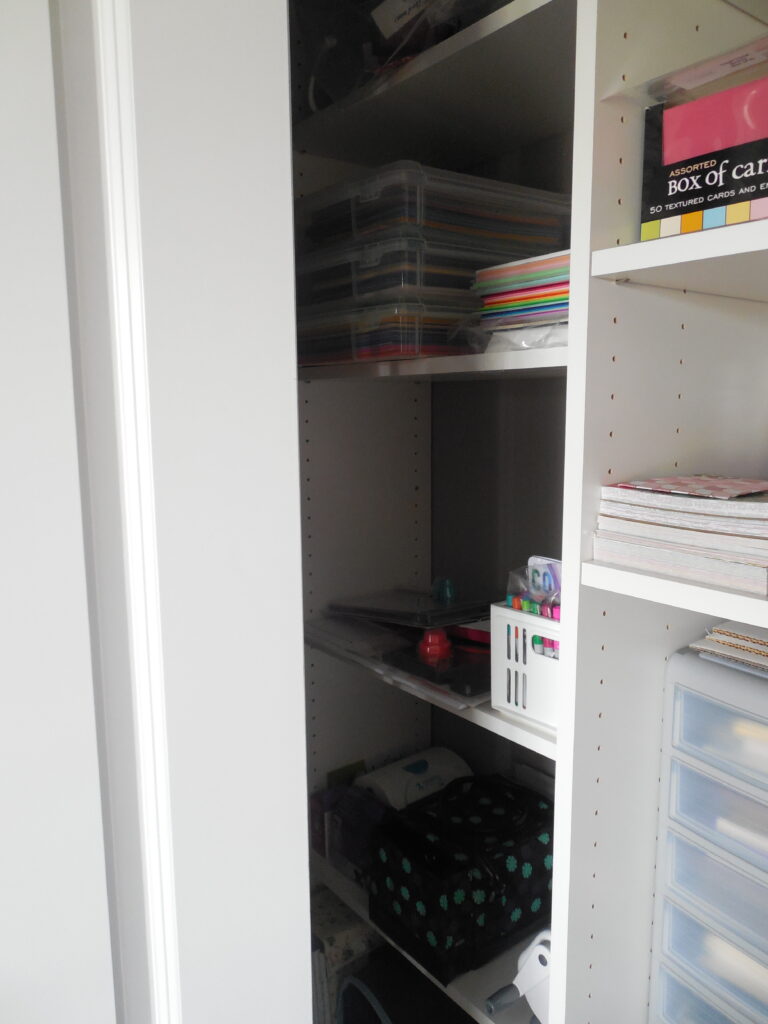
Before the upgrade
In case you don’t remember, I’m including a few “before” shots of my studio.
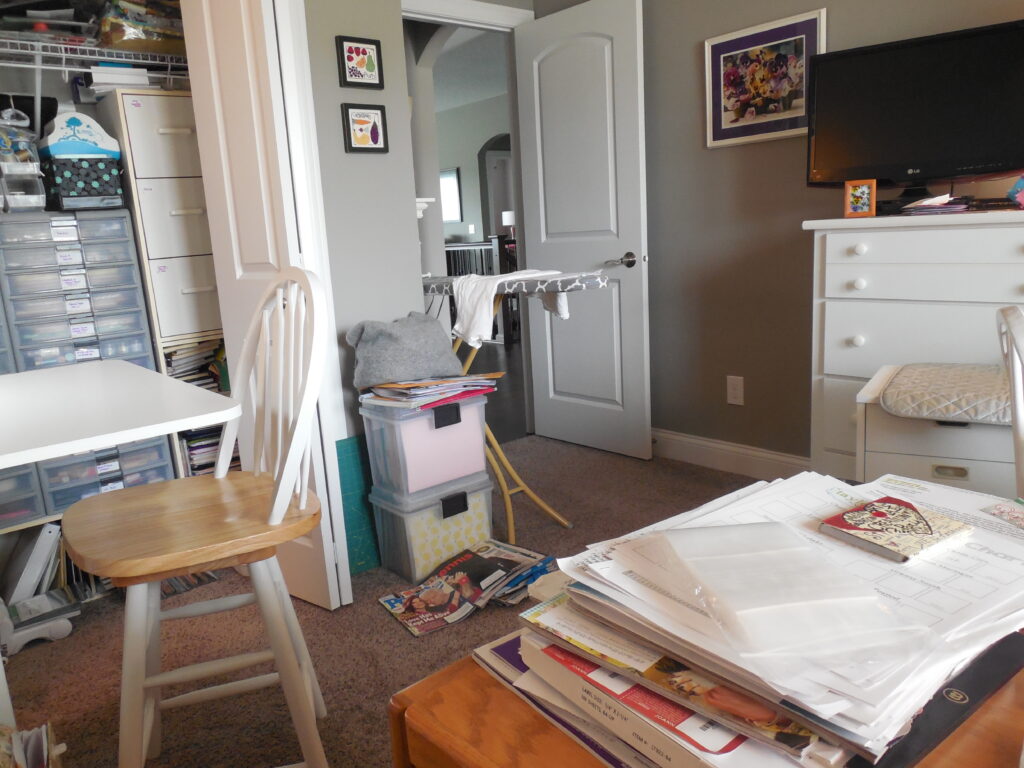
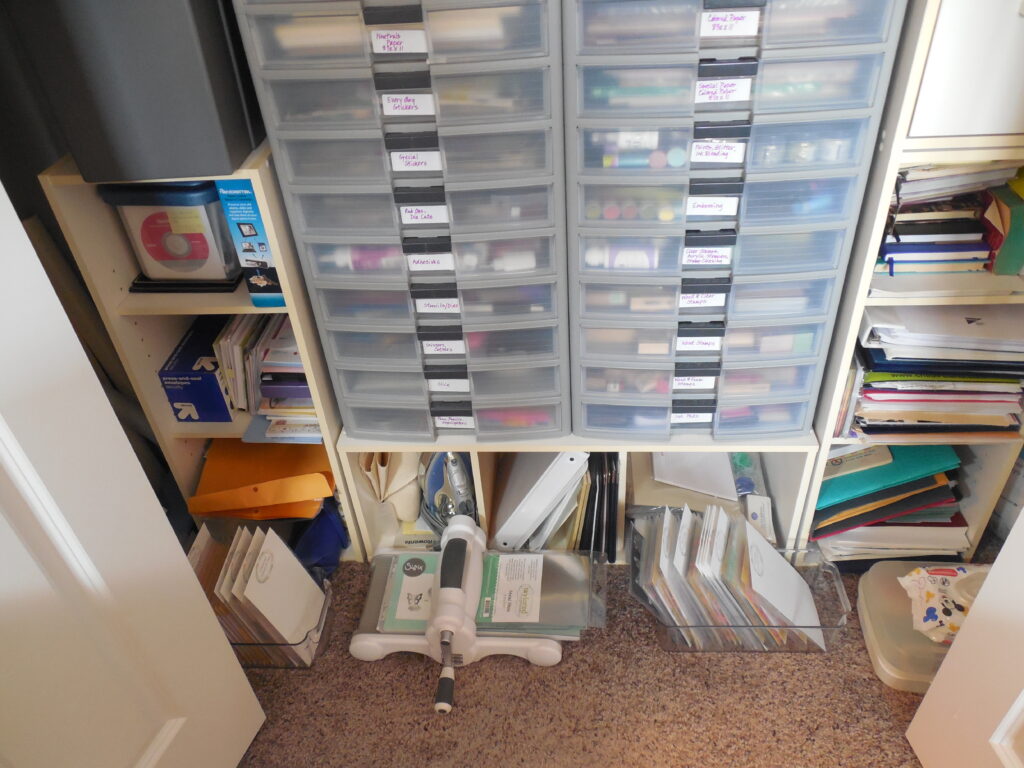
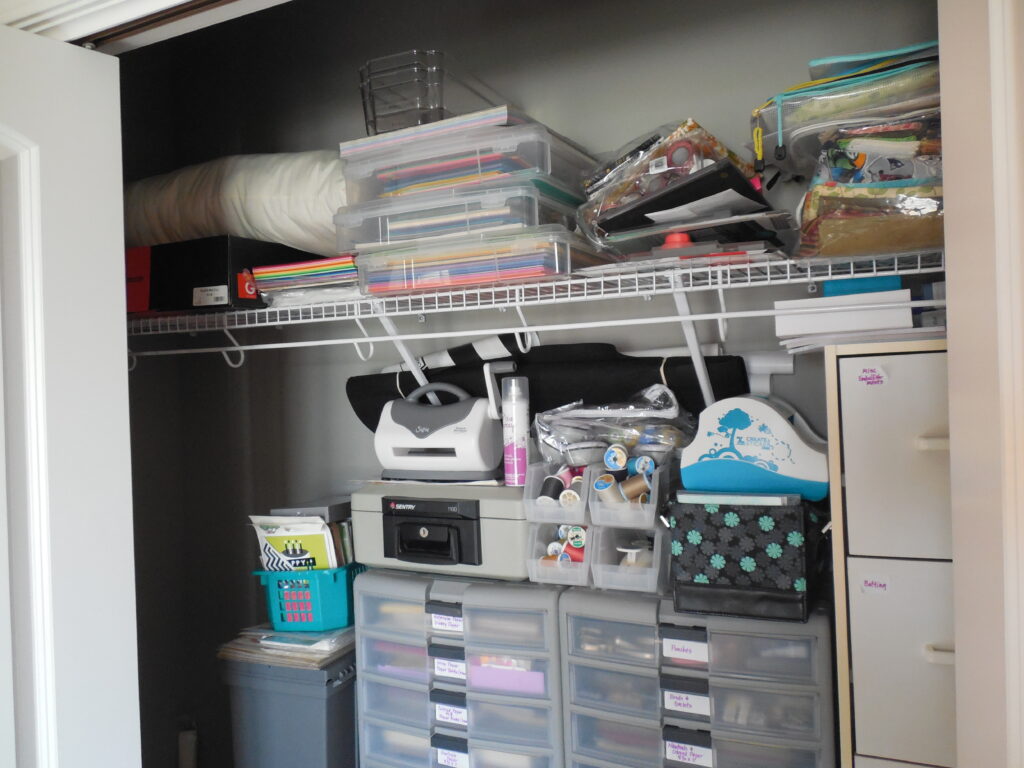
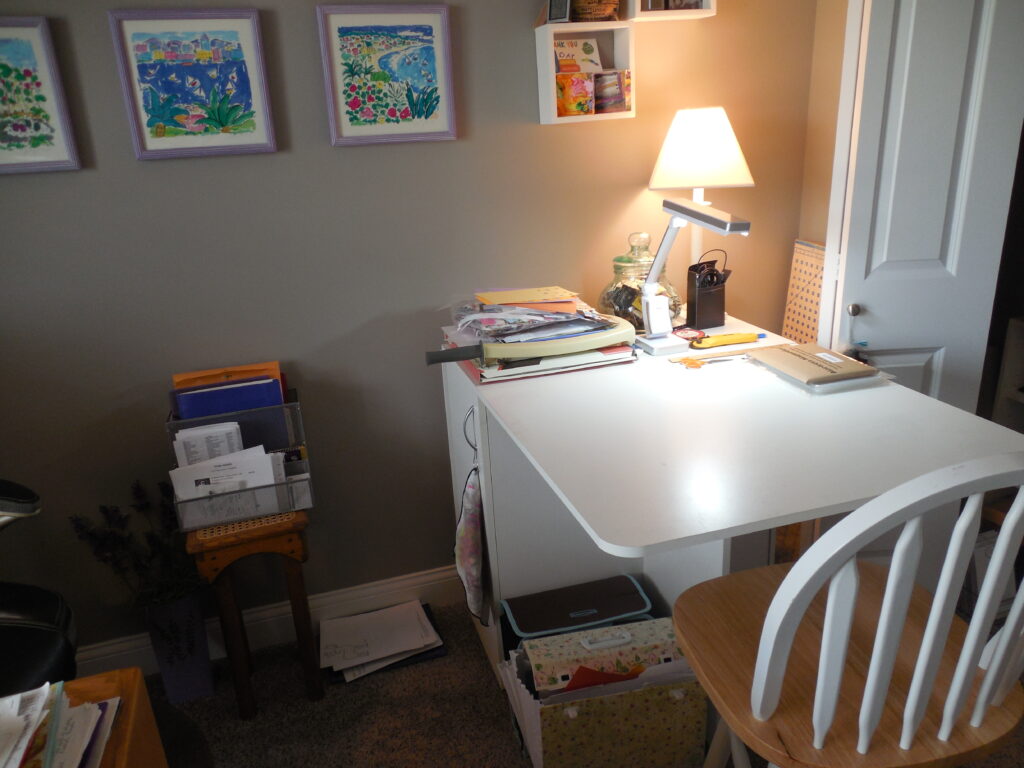
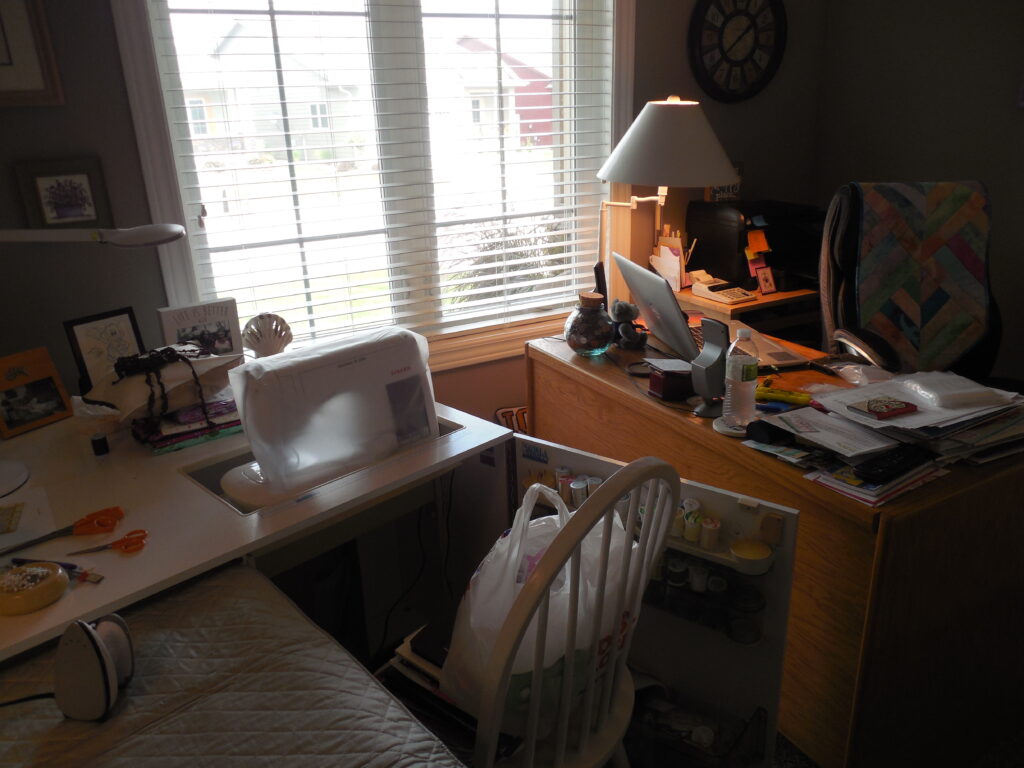
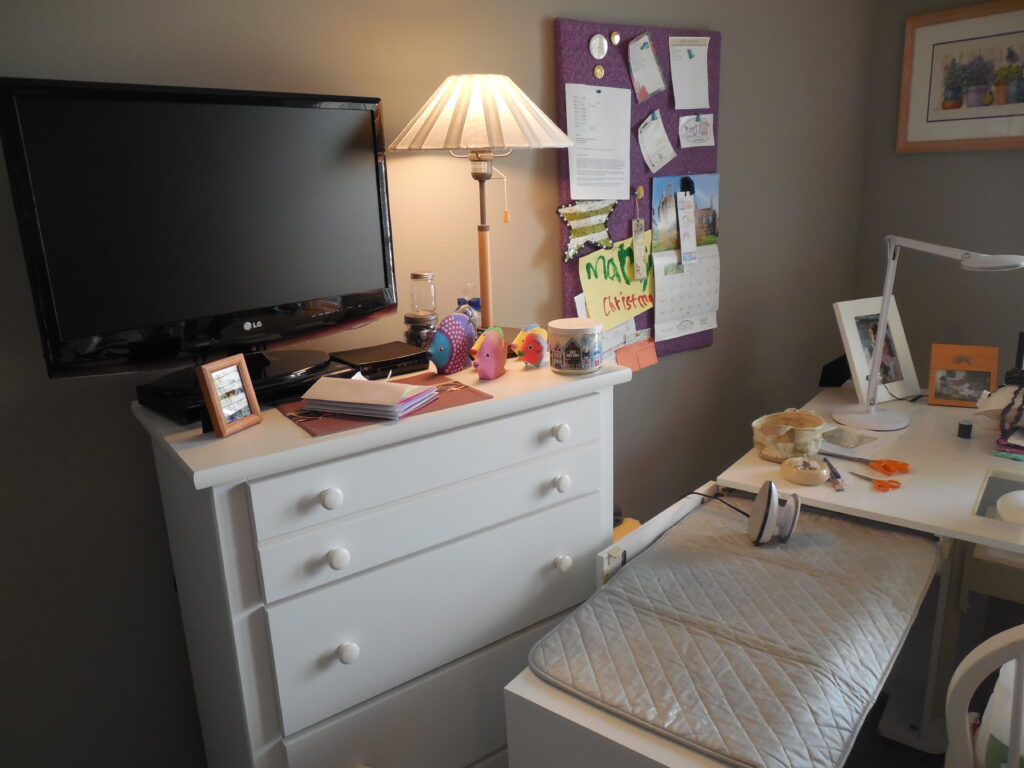
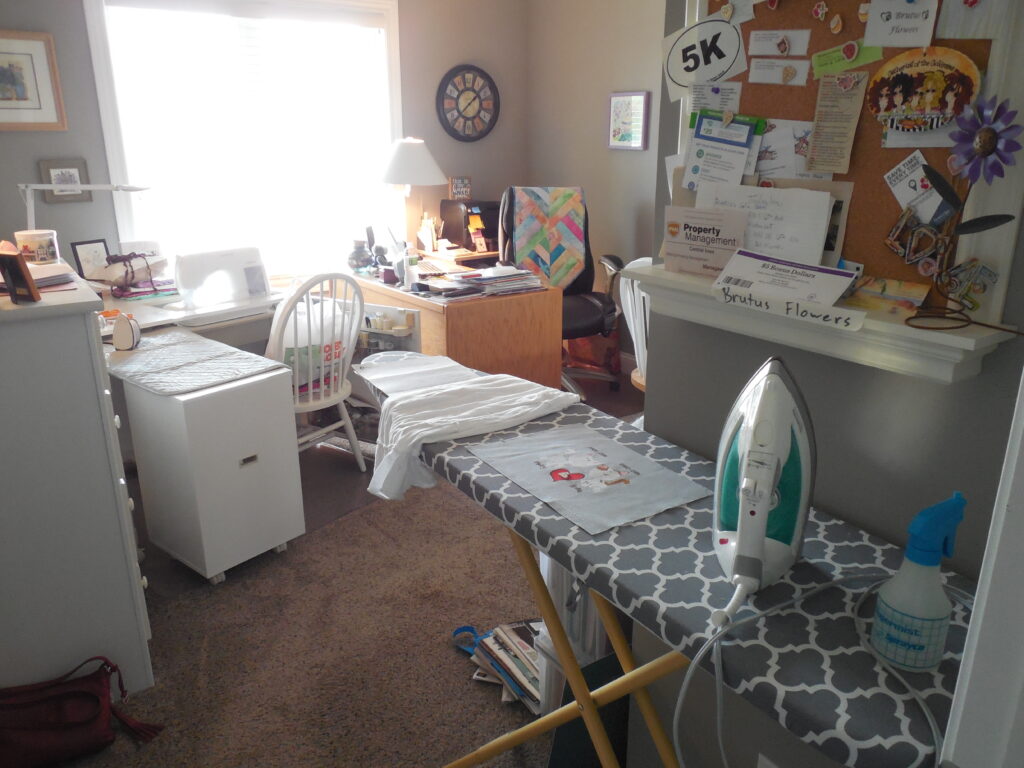
For the most part, it was working but I was definitely running out of space, both for storage and for work space. Even the “office” part of my studio was becoming unweildy.
The design process
It started with the local franchise owner showing up and listening to me talk about what I needed. What I especially liked was that he didn’t want to replace anything I already had. So, my sewing cabinet and craft table, as well as my desk, would be worked into the plan.
He suggested we do something in three places – the closet, beside my desk, and on the wall across from my desk. Everything would be designed around my needs and the furniture I have.
We designed one section at a time, talking about what would go into each spot so he could suggest options such as drawers or certain sized shelves. And we needed to fit things in like the printer, the TV, and the cabinet drawers I already had in the closet.
We spent probably three hours completing the design, as he made suggestions and I added my thoughts. It was definitely a collaborative effort and I appreciated his ideas when considering my needs. If he couldn’t accommodate something, he told me. So, we worked around it.
We ended up with three designs with dimensions, special features like drawers, special trim, and even a countertop. Installation would be in four weeks. I couldn’t wait!!
During the upgrade
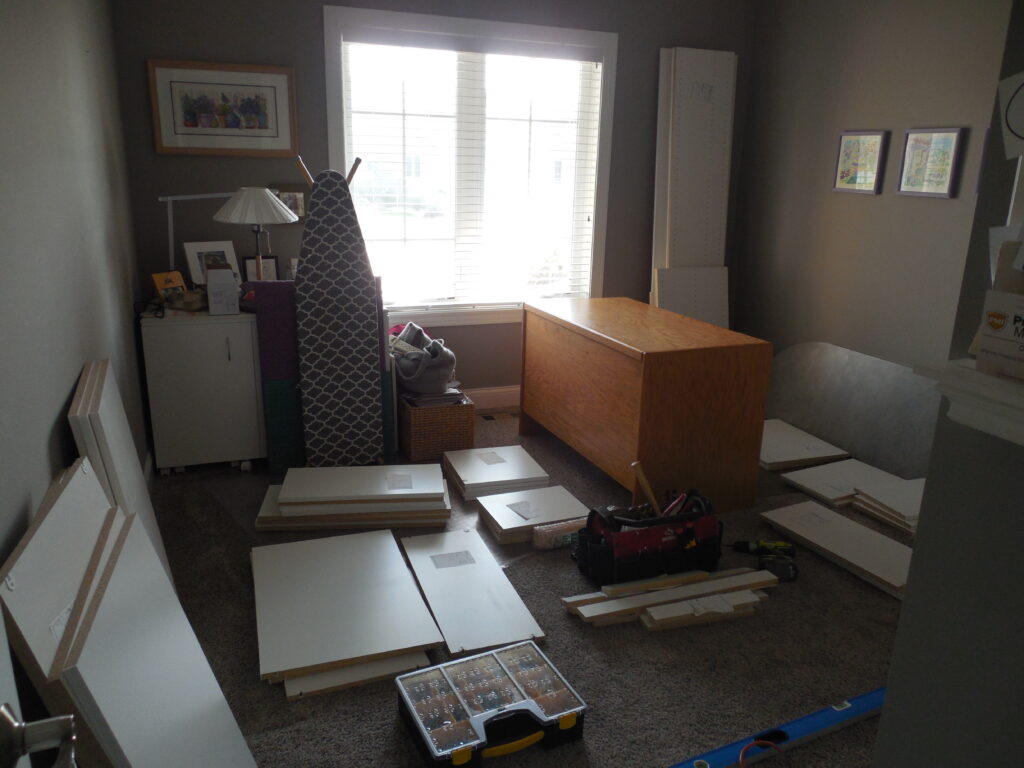
As you might expect, I had to remove everything from the room. Initially, I thought I would put everything in a tub and take it downstairs. But since it would only be a short term move, Tim suggested I just move it into the living room during the installation. He’s so smart sometimes!!
So, here’s what everything looked like during this time.
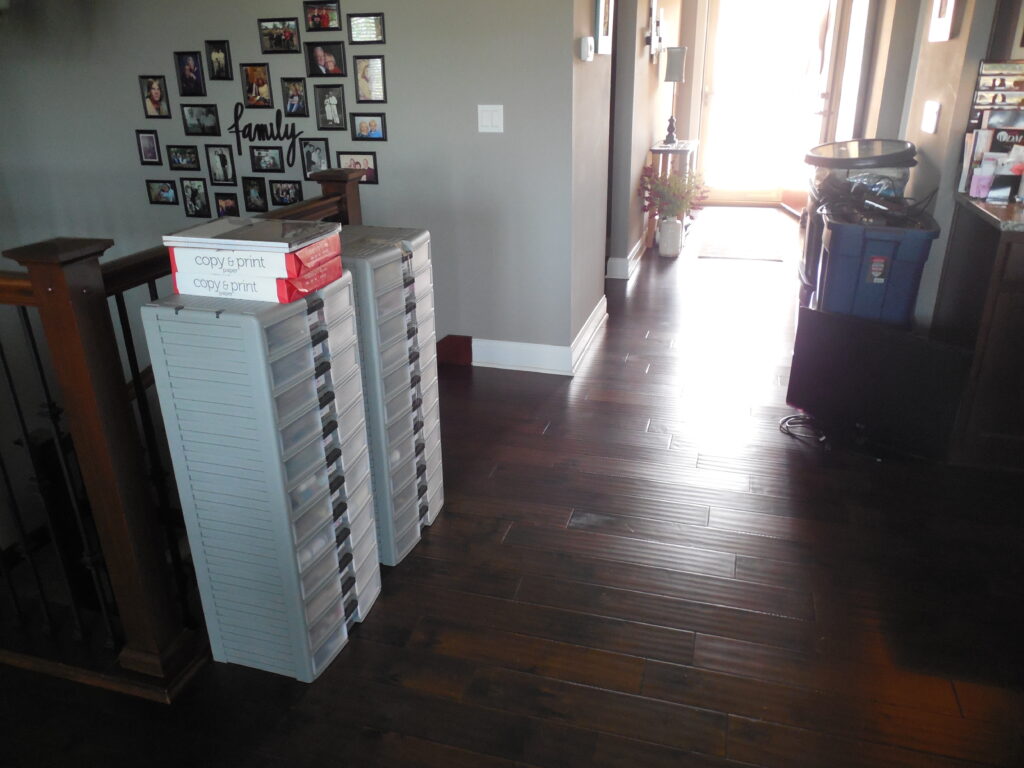
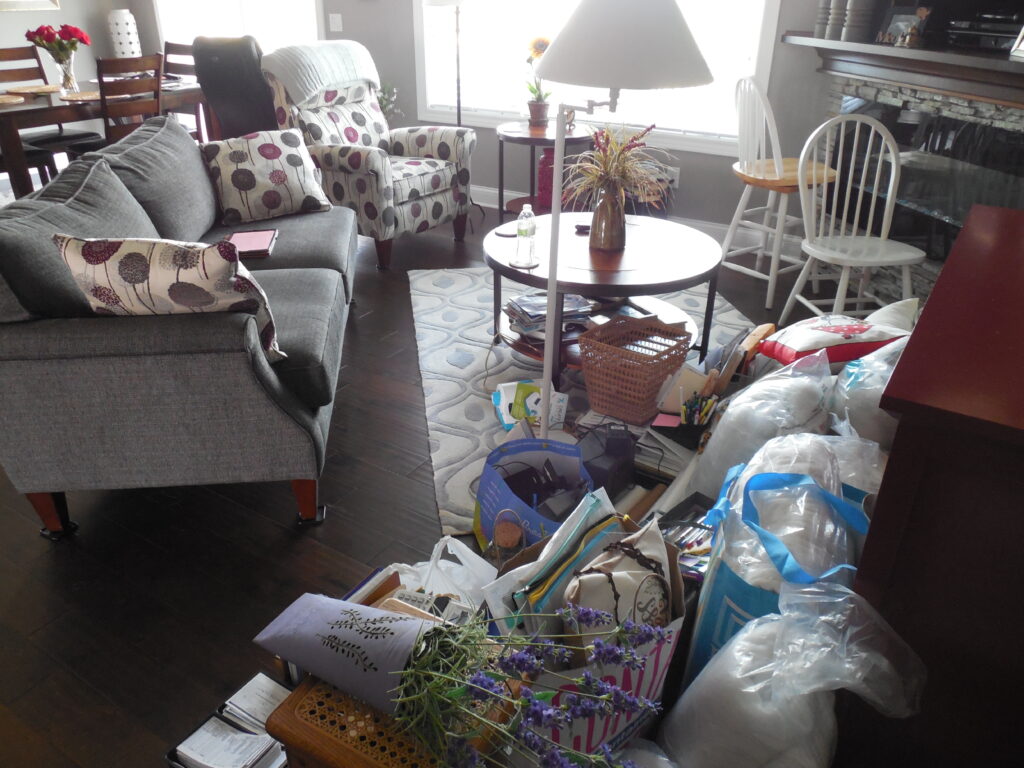
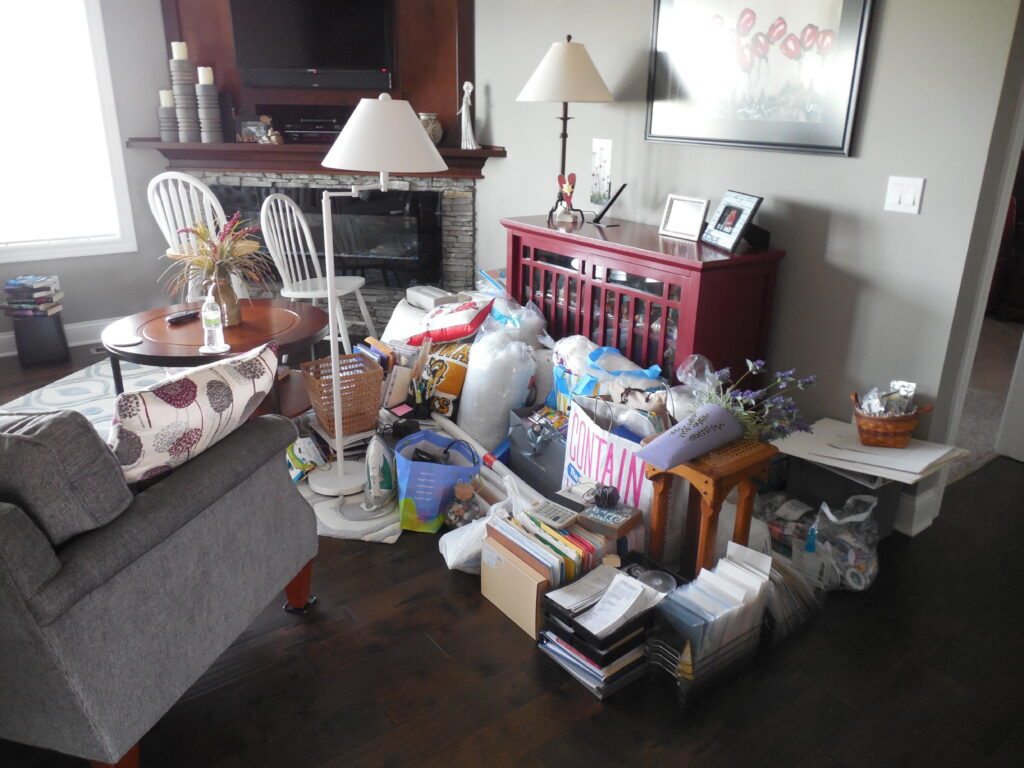
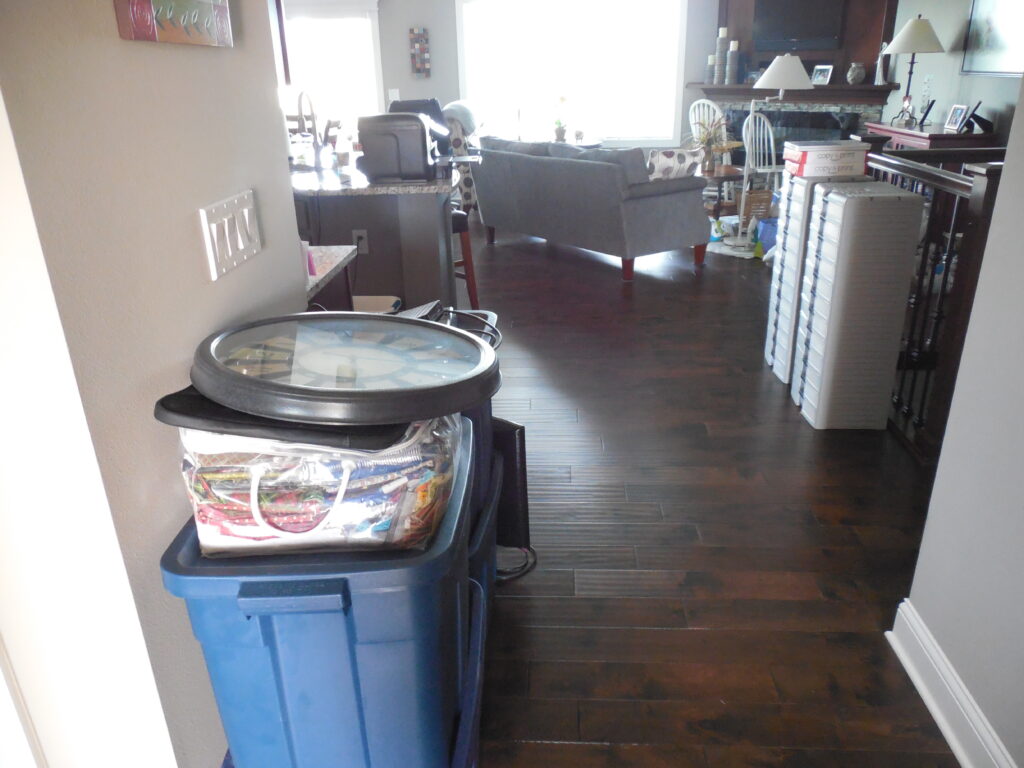
Just like when I moved, I didn’t realize how much I had stuffed into this room!! It was also a good time to go through things and decide what I really didn’t need anymore. Plus, I found things I’d forgotten I had!! Guess I need to go through things periodically just to remind myself.
Two young guys showed up to install the various cabinets. They had to carry in a lot of boards and set up a saw in the driveway. I didn’t want to intrude too much, but I did sneak a peek when they went for more supplies.

At one point, one of the guys came out to ask me a question. When I followed him back to the room, I was shocked to see that the piece beside my desk was installed on the wall behind the desk and not next to the window, as was our plan. I had to tell him that was wrong.
So, they had to take it down and reinstall it on the correct wall. This meant putting back the baseboard they’d removed and left a small nail hole on the side facing the window. Not perfect, but better than being in the wrong spot!!
His original question had been about the holes for the electrical cords, which we still needed to discuss. They actually have some good solutions for that, so I was happy.
I decided to check on them as they were installing the second piece. It was on the correct wall, but not placed around the outlets correctly. It would also be too close to my sewing machine cabinet when it was opened, so I had to tell them once again that it wasn’t right. More baseboard splicing. Grrr.
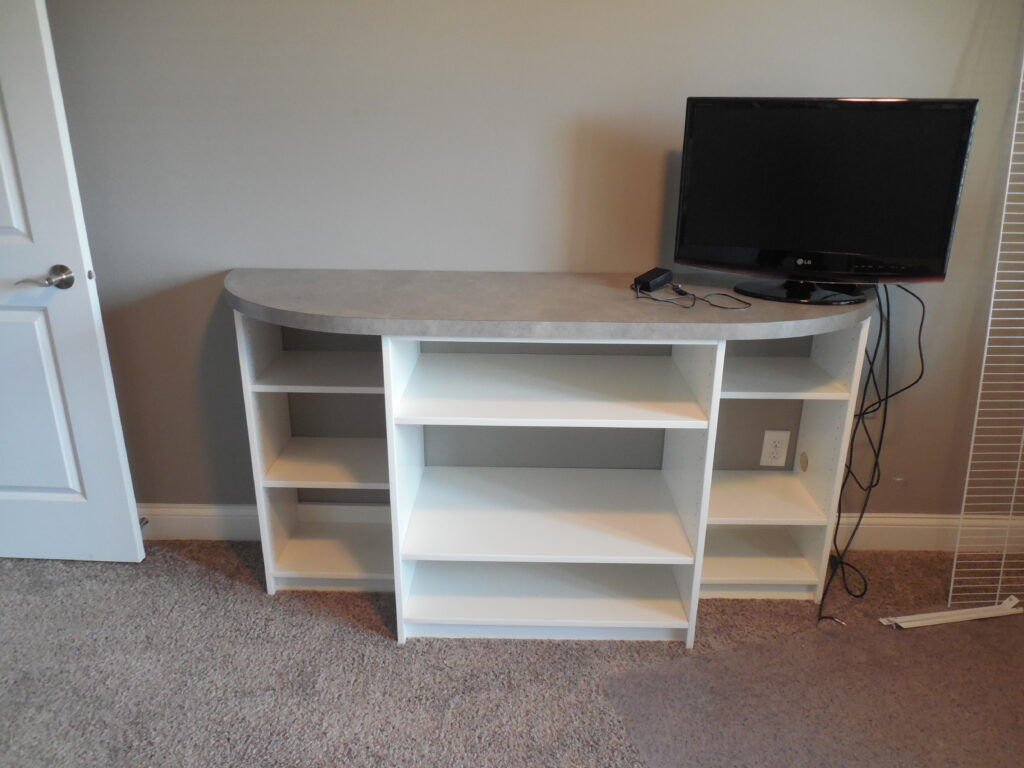
Once it was placed correctly, everything worked out great. The outlets were accessible and required only one hole to be drilled for cords. We’d allowed for my TV to sit on the end of the counter and it requires lots of cords.
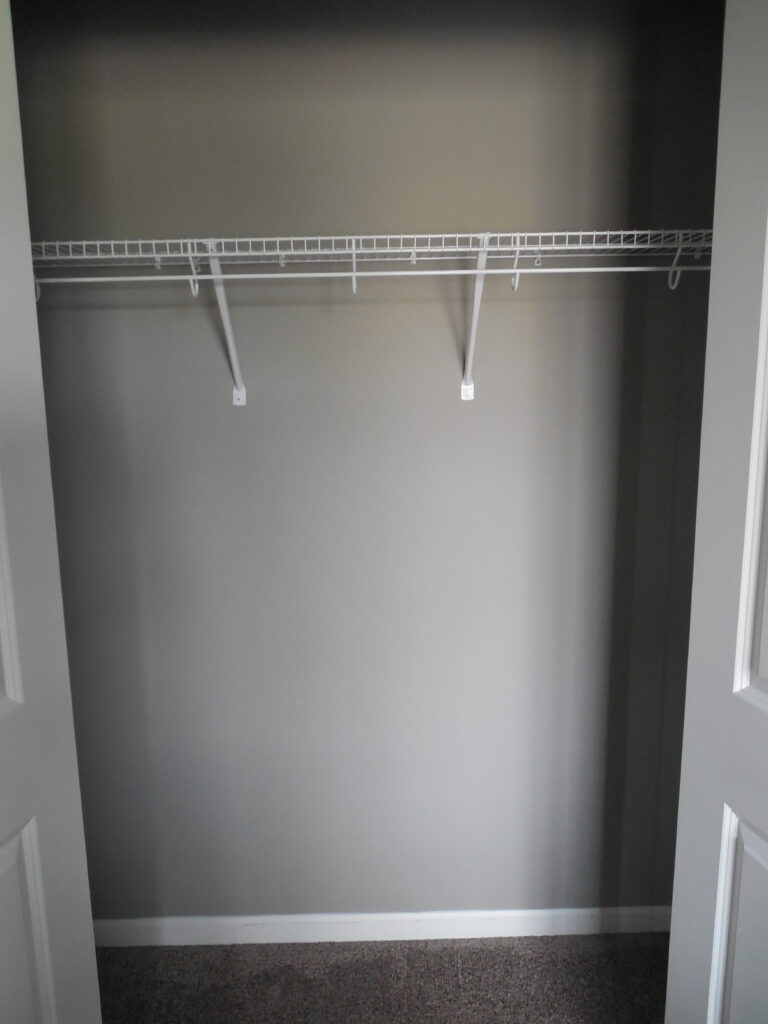
Ok, that was done. No issues with the closet but then they didn’t have many decisions to make. Whew!!
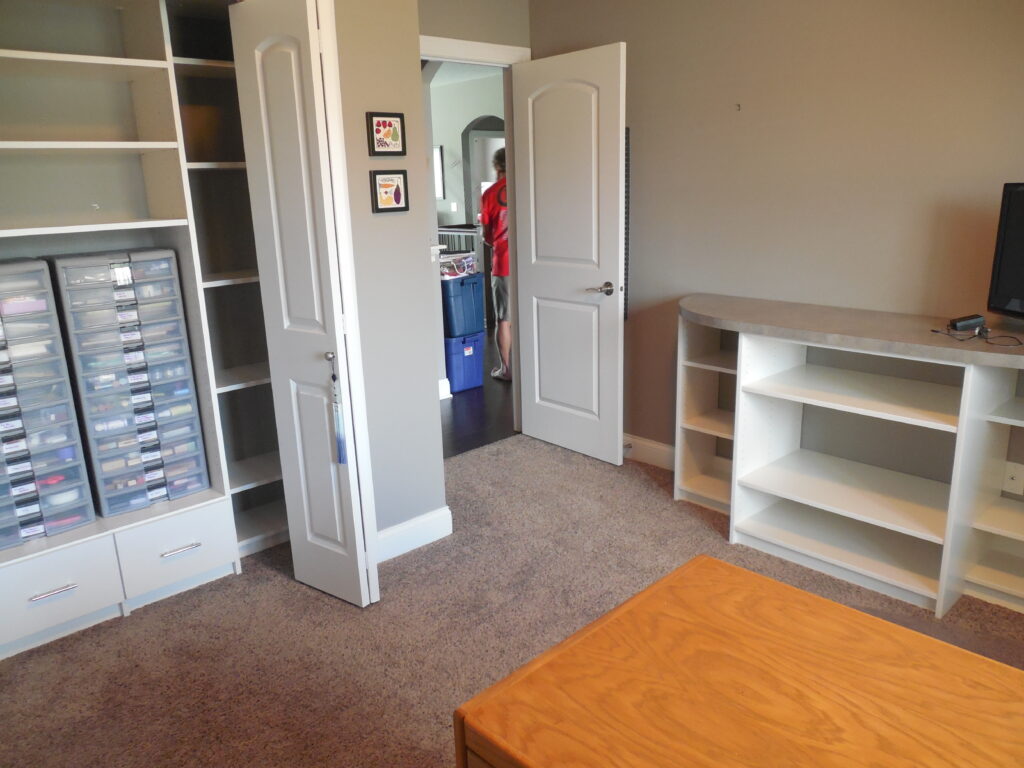
After the upgrade
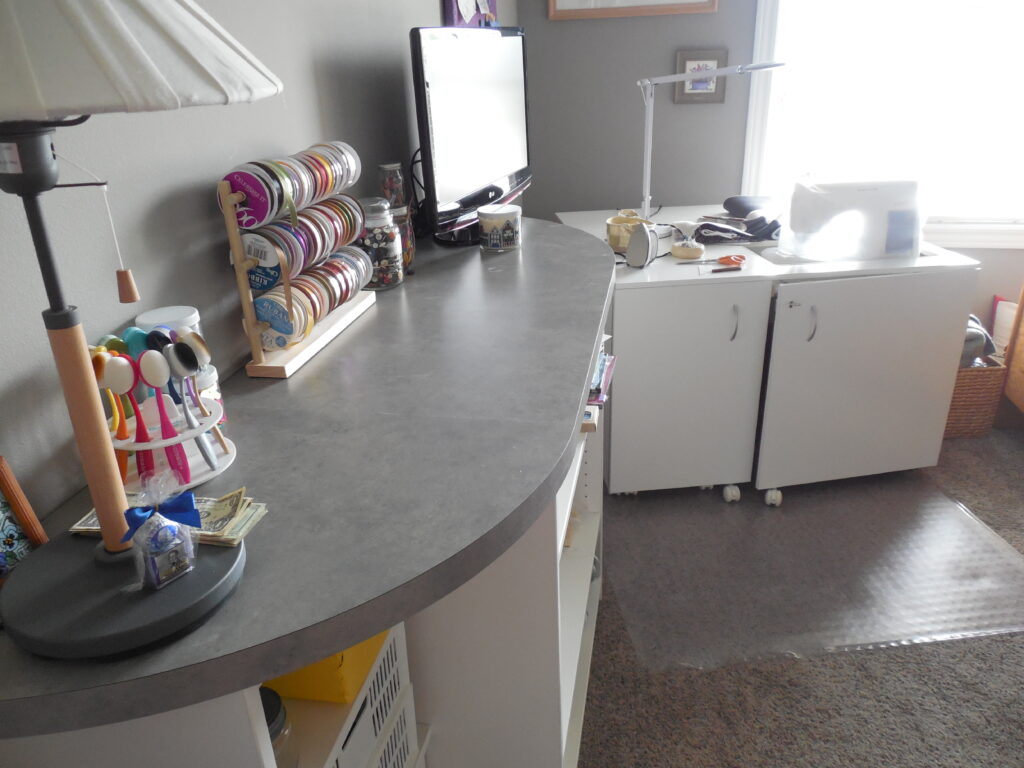
Once everything was done, I was thrilled with it. It took me a little while to decide where I wanted things to go. And, I realized I needed some baskets or something to hold items, since I mostly have shelves. Fortunately, the shelves are movable.
Tim and I went to The Container Store to see what they had. I found the perfect baskets for what I wanted – various sizes and dimensions, stackable. They didn’t have everything I needed in stock, so I had to order the rest online. If you’re interested, they are the Chancellor baskets.

I also ordered some dry erase labels to attach to each basket. I thought I was being smart because then I could easily change the label if I put other things in a basket. Good in theory, but I’ve discovered they smear because they’re placed right under the handles where I tend to put my hand!! Oh well, I’m still happy with my choice.
In addition to these baskets, I wanted something to hold ribbon. I’d always stored it in a drawer as well as other containers, so it was never easy to find what I wanted and it was easy to forget what I had. I found these wonderful ribbon holders on Etsy.

I started with two and ended up ordering two more!! I’ve filled three of them so I have room to grow! Ha.
I’m settling in and most everything has its place by now. (The installation took place on August 13.) I’ve found I’m much more efficient and I love the countertop as much as I thought I would. The upgrade also motivates me to keep it tidy, so after a project, I put everything back in its place.

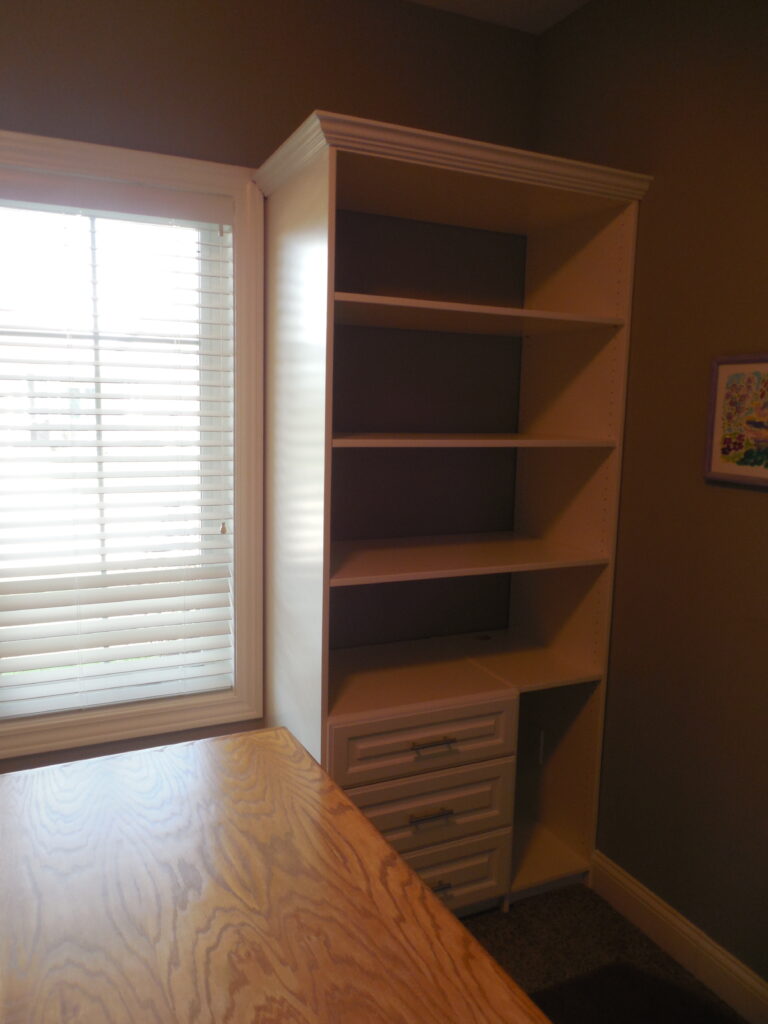
Office and craft table area 
A place for everything, including pictures and other decorations I never had room for before Perfect spots for the printer and shredder Shelving with sewing cabinet open Another view – plenty of room to get to what I need Closet – front view Closet – right side view Closet – left side view Shelving without sewing cabinet open Love the countertop for workspace
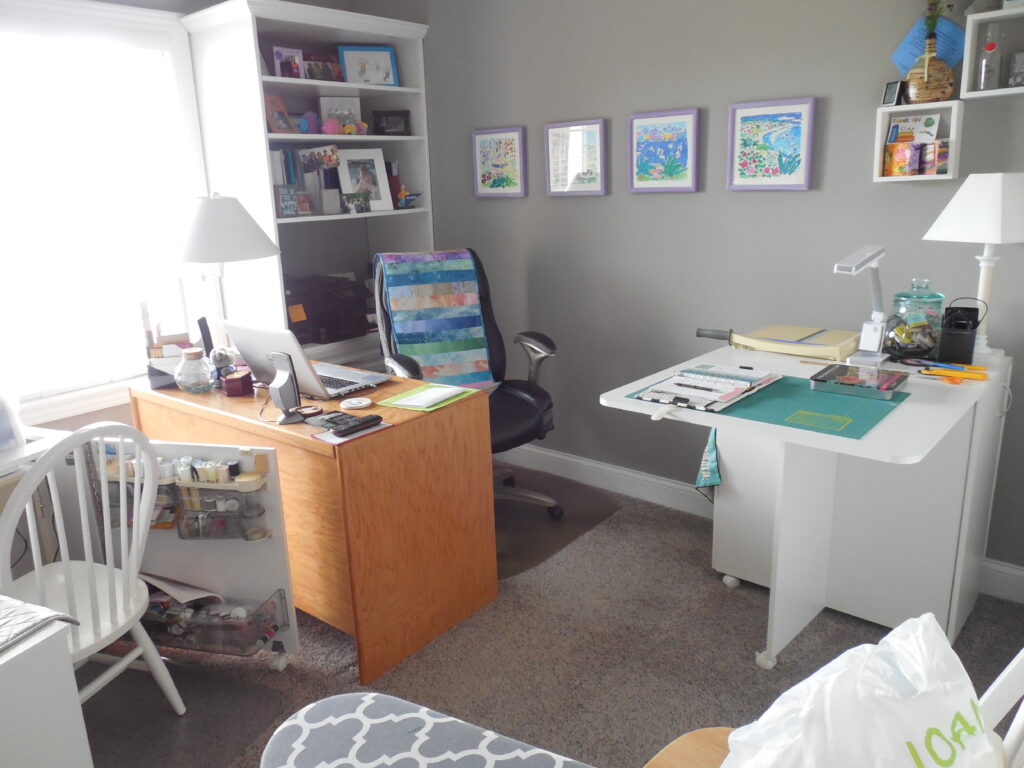

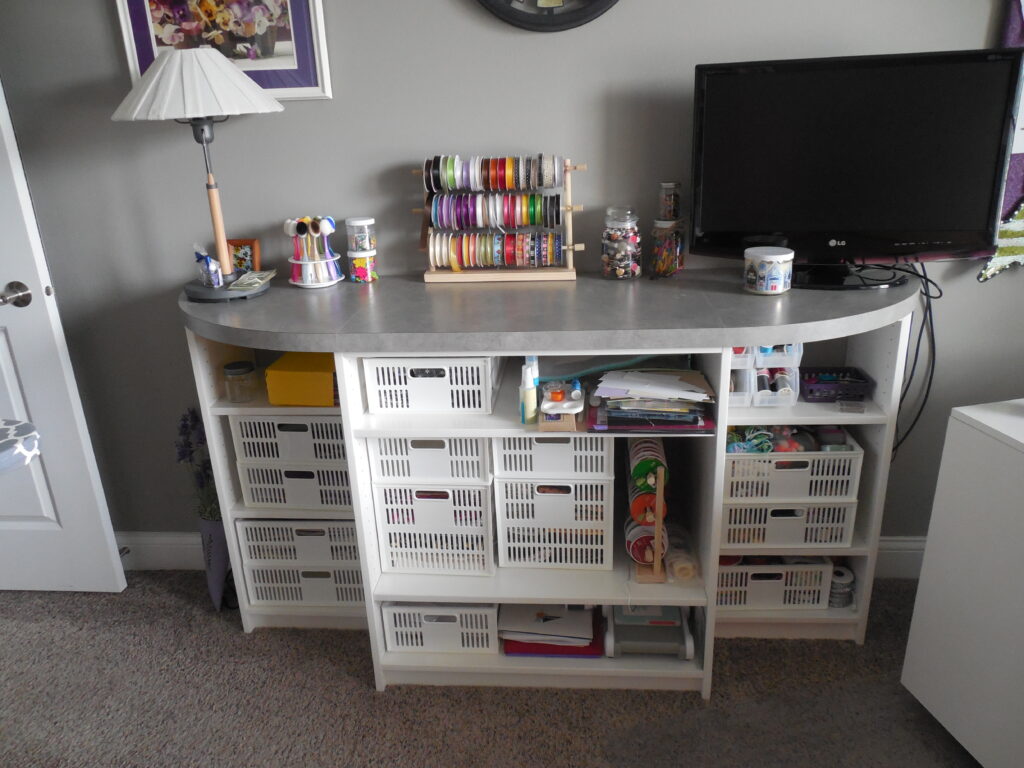
Fortunately, I have growth space – unfilled baskets, empty shelves. But I’ve already had to make some changes to accommodate my increase in cardmaking supplies, and I don’t see that ending!! I’m finding what works and what doesn’t and I adjust things accordingly. Nothing is perfect, but this is so much better!! I loved being in here before; I love it even more now.
Lessons Learned
There are a few things I’d like to share with Closets by Design that might help the process go smoother. Don’t get me wrong; I’m thrilled with the final product. But there is clearly room for improvement.
Unfortunately, when I was asked for input, it was more of a review than a request for what could we improve. Here are my suggestions.
- When drawing the design, make sure to include perspective. The cabinets and their measurements were well laid out, but where they fit into the room was not clear.
- Have the designer be there at the beginning of the installation. Then, even if the plans don’t clearly indicate placement, he/she could show them where things should be.
- I would watch more closely and make sure things are right before they’re installed. Then maybe we could have avoided the unnecessary removal of baseboards and the need for splicing them back in.
- Maybe provide more training to the installers. Is there a better way to make repairs? The baseboard repairs look sloppy and the wall was dinged when the installer’s drill slipped. He attempted to repair that but that looks pretty sloppy too. Fortunately, most of those mistakes are hidden.
I can’t make the room any bigger but I have made it work better for me. It definitely helps the creative process!!
WOW, I’m impressed. Mine needs cleaning out badly. It’s amazing how many things can accumulate when you’re not looking. I’m sure you’ll enjoyed the revision.
Grace & Peace, Iris
http://www.IrisOriginalsRamblings.com
Thanks Iris. I’m hoping it will make it easier to keep up with what I have so I don’t have any surprises along the way. Except I have already identified a couple of duplicate cardmaking supplies that I have. So far, I’m loving everything about my new studio!!
Okay, you win the prize for most ambitious (and completed!) pandemic home project. Well done!
When you have trips and concerts canceled, there’s not much else to do. I had to spend that “saved” money!!
Very nice! It looks like you were able to get a lot of activity options out of one room. Bikes are nice, but this is nicer (and, you can always get a bike… and I’d recommend an electric one).
Thanks Janis. I haven’t necessarily given up on the bike. 😉
Thanks for sharing this. I’ve always wondered about the process involved in working with Closets by Design. Your finished room is wonderful.
Thanks. I’m sure there are differences with Closets by Design depending on where you live, but I would think they’d follow the same process.
I read this with interest. In our new home, my “craft room” will be the guest bedroom as well, so I’m beginning to consider options for maximizing the closet space, adding shelving, etc. I do think I might need to start small and live in it awhile to see exactly what I’ll need to make it the most functional. I don’t do nearly as many crafty things as you!
Yes, Pat, definitely start small and over time you’ll figure out what you need. It would be unfortunate to spend a lot of money only to find out it doesn’t work for you. I’ve been in this house for five years and I’ve tried various things. By the time I did this, I knew exactly what I needed. Doesn’t mean some need won’t come up later but I feel this can adapt. Good luck with your room!!
Your updated studio is absolutely gorgeous. I would have chosen that over a bike as well!
I love just being in that room now!! It’s so perfect – for me.
That was a huge undertaking and I love the results!
I often think we have too much stuff too and it’s all in the organization. But with small spaces there is limited places to put stuff. I regularly purge my daughter’s craft items because they tend to multiply. I love how you put those drawers in the space…I may consider getting some of those. Ingenious.
The drawers are the best. They’re not so deep that you can’t find anything in them but there are several so they hold a lot of stuff. Great for small items. They are from the Container Store and one of my best purchases ever!!
Excellent! I love any type of organization project
Sometimes the planning and getting the organization in place is the most fun part!!
Normally I agree. This time planning was sad
Are you talking about one of your organization projects? That’s too bad.
Yes. Vacation planning
Wow, that is a sweet set up! It reminded me (in a good way) of the jobs the Home Edit crew tackle, especially with all of your bins and labeling. Their Netflix series is fun to watch if you like organization – and it seems like you do👍🏼
Thanks Louise. Now you have me curious about that show. I will definitely check it out!!!
Love your revamped craft room! Looks very efficient! My craft room is also my happy place. I spend almost 100% of my time in mine. I’m getting ready to move it to a different room before I do any more organizing. Glad your craft room is working better for you. (and I would definitely choose that over a new bike! 🙂)
Yea, bike or room no comparison. Your room looks like you gave it exactly as you want it. I have all my spaces in a large u shape with eight foot tables and storage on one wall. It took me a long to the best place. But I still don’t put things away as soon as I finish, lol.
I think it takes a while to figure out what works. After working in this room for several years, I knew what was lacking so it was relatively easy to design it. I hope it can meet my needs for a long time!! Thanks Barb.
Thanks Jackie. I love spending time in my studio and can’t wait to get there every day. Good luck getting your new room in order. That’s half the fun!!