I hesitate to sign up for classes. I think it’s because I’m afraid I’ll be the most inexperienced person there and will look stupid. I know, that’s a very dumb reason. Why do I let those things bother me? It’s a class; people take them because they don’t know everything.
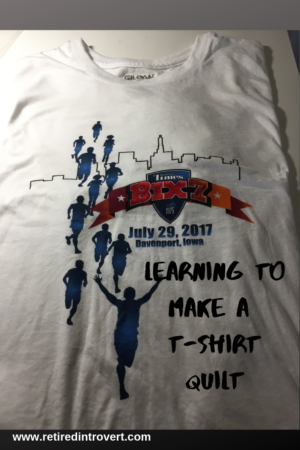
Anyway, a few months ago, a quilt shop in our area advertised on Facebook they’d be conducting a class on making a t-shirt quilt. This class was only two hours and would be mostly lecture and demo. Perfect!! No one will have to witness my lack of skills.
So, I signed up!! The class was 10 days ago.
I’ve never had any intention of making a full size quilt, but Tim has accumulated running t-shirts over the years and has hinted (well, actually said) he would like one. I have no idea where to begin so I thought this would be a great way to introduce myself to this type of quilting.
Getting to the class
I was a little nervous, not for the reasons noted above, but because I had to drive about 35 miles away. If I didn’t take the interstate, it would take me twice as long to get there. I decided this was as good a time as any to bite the bullet and take the fastest route.
If this doesn’t make sense to you, let me remind you that I suffer from spontaneous vertigo, and have avoided interstate driving (alone) for a couple of years. It would be one thing to have an episode when driving 35 mph in town. But I don’t want to think about what could happen at 65 mph on the interstate.
I have to admit, it felt good. I even told Tim later that night that I felt like a normal person that day. Funny how something most would take for granted felt like a major accomplishment to me. It’s good to have some of my confidence back!!
Arriving at the shop
I planned to get there a little early, about 15 minutes, so I parked and waited a while until I saw others going in. I didn’t want to be late but I also didn’t want to be the first one there!!
Even though the class was described as “lecture and demo”, we were told to bring 3-5 freshly laundered t-shirts, scissors, a large rotary cutter, and a 15″ or larger square ruler. So, I had my bag all ready to go, along with a pad of paper, and off I went into the store.
The shop recently added space onto to the back so they now have a wonderful area for classes and group sewing. There were about nine of us, which mostly filled up the room. Some of the women were chatty and I just listened, contributing when it seemed appropriate.
So far, so good!!
Class time
The class was taught by someone who said she’d stopped counting after she’d made 35 t-shirt quilts, so she was clearly experienced. I wouldn’t call teaching her strong suit, however, but she gave us a handout and provided some helpful tips.
The only thing I took out of my bag was the t-shirts. We didn’t use any of the other supplies we were told to bring. That was just fine with me, but it did make me wonder why we brought them.
I asked a few questions about my shirts, because some have smaller logos on the upper left side, as well as writing on the sleeves. I want to know how to include all of that in what I make.
She talked about the best way to cut the t-shirt to maximize the fabric. And she said to keep any leftover fabric as it could be used to create appliques or for fill-in as the quilt is designed.
She talked about how some logos are painted on and how to be careful not to melt them. She also talked about the various fabrics used in t-shirts today, i.e., more slippery, and how to make them more stable.
I didn’t need to worry about feeling stupid. When two of the women said they’d never used interfacing before (or even heard of it), I felt pretty smart. I have lots of experience with interfacing!!
Books for guidance later
She passed around a few of the books she liked; some were hers and others were available in the store. One of the available books was $20 and I knew I needed something, so I snatched it up before anyone else could. I found the other book I liked on Amazon and will get it later.
What I like about the books are the design ideas. I can see how to make my smaller t-shirt pieces work in a design that makes sense. And how to supplement them with coordinating fabric.
Short class
The class ended after about an hour and a half, and that included the instructor’s demo of how to cut the t-shirt after the class had officially ended. Seems that should have been part of the class anyway.
The shop provided us with a card worth $10 to use in the shop, which was half the cost of the class. Not that I needed a push to shop a little!! It would also cover half the cost of the book I wanted.
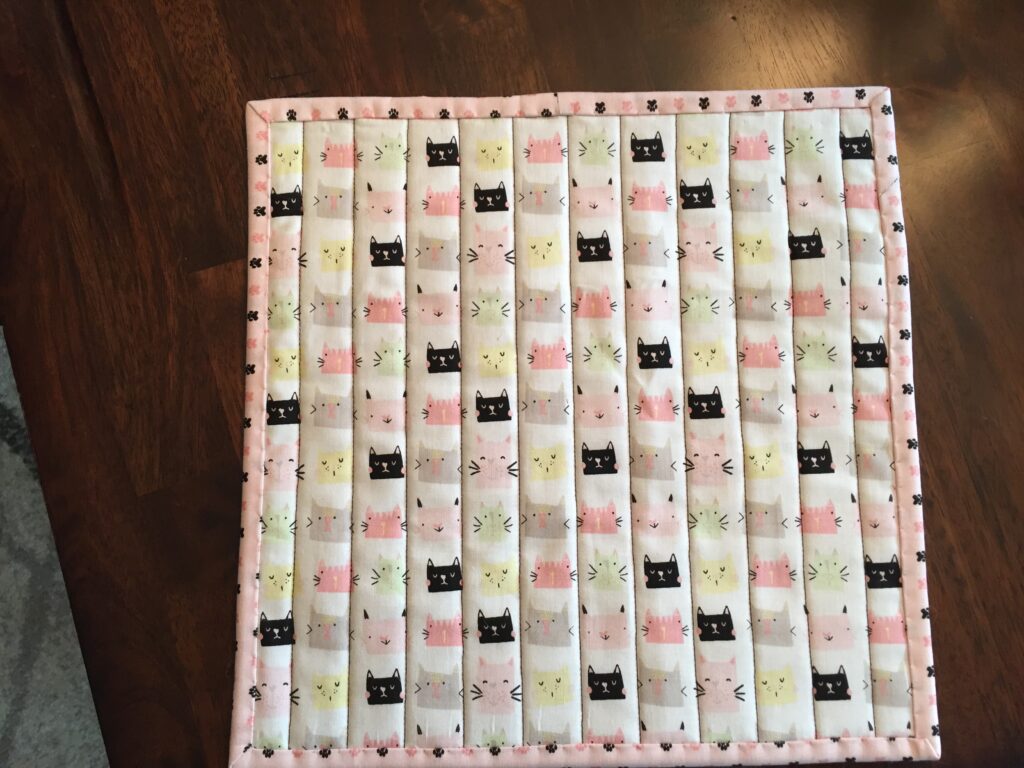
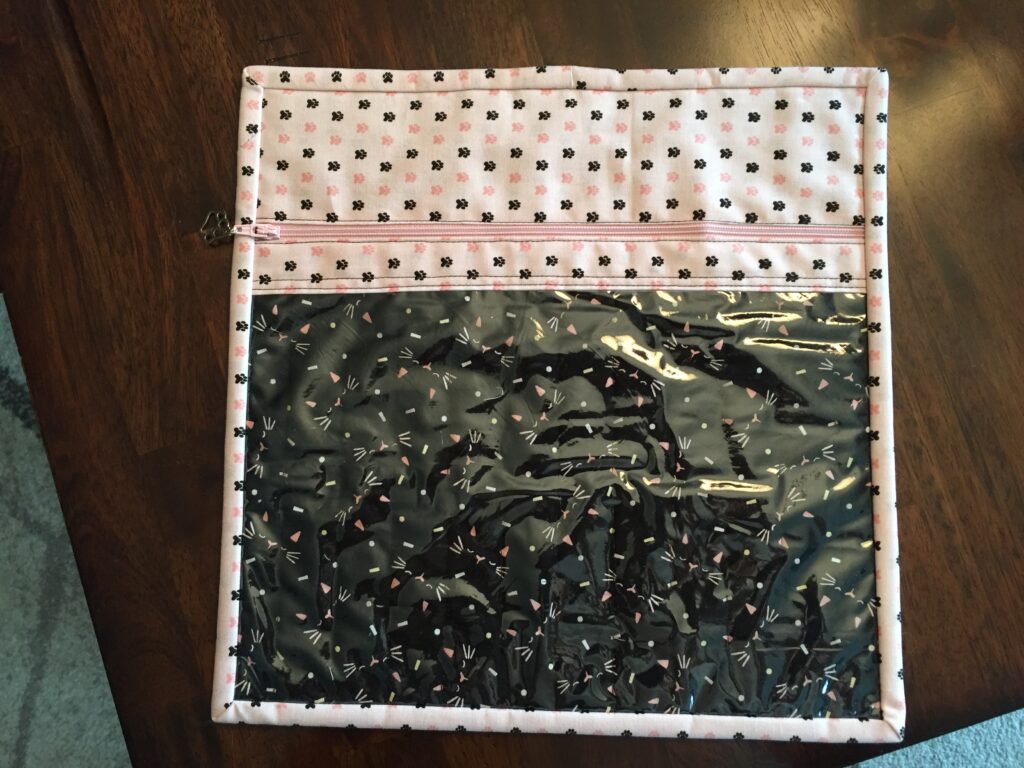
Before I left, I had to browse the fat quarters. I always stock up on cute fat quarters because you never know when you might need some. I found some that are perfect for making more cross stitch project bags.
Here is the one project bag I’ve made so far. If you follow me on Instagram, you’ve probably seen it. I love the cat fabric, don’t you?

Back Front
Home later
As I was telling Tim that night about the class, I mentioned we should have 20-30 t-shirts to make the quilt. He had given me seven, which now I find out is all he has!! I think there are still some he’s not ready to part with because he likes to wear them.
I asked if I could make something smaller, which I would be more comfortable with anyway. He didn’t seem to like that idea. I’m not even sure how he intends to use it, but if he wants a full size, that’s what he’ll get.
We talked about supplementing his running shirts with others he has. We may not get to twenty but I do think we need more than seven. There’s only so much I can fill in with other fabrics!!
I have no idea when I’ll get inspired to start on Tim’s quilt. I’m just happy I’ve taken the first step in learning what to do and to feel slightly more confident about what’s ahead.
More classes?
I enjoyed the class, even seeing some of the t-shirts others were planning to use. The woman next to me has been collecting baseball spring training shirts for the sole purpose of making a quilt. She said her husband commented that would be an expensive quilt. I said, he’s clearly never bought fabric!!!
I will continue to watch for other classes to take. But I’m not sure I’m ready to pack up my sewing machine for a class. We’ll see.
I did read last week about a local yarn store starting up a knit-along (KAL) with “tailgating” on Friday afternoons, beginning the Friday before Labor Day. For ten Fridays, they’ll introduce one new stitch and we’ll end up making a poncho. I can make it in my team colors or whatever combination I want.
Mid-July, the shop will have a model so we can see it before we decide to join. I’ve already made a note in my planner to visit the shop. I think this could be kind of fun, although it’s not typically something I would do. But for some reason, it appeals to me,
The tailgating part involves bringing a dip to share. They’ll provide the crackers and chips!! Can I come up with ten dip recipes???
Shop information
If anyone in the Des Moines area is interested in where I took the class, as well as where the knit-along will be, here is the information. I’d love to have you join me.
Off the Rails Quilting, 15 Main St. SE, Bondurant
Yarn Junction, 132 5th St., West Des Moines
Interesting blog! Last year I was going through storage totes my mother had and came across dresses I wore as a baby (some made by my grandmother). I hated to leave them stored away only to be found and disposed of after I’m gone. My kids didn’t want them. So… I decided to look into what I could do with them to enjoy the memory.
I was referred to a lady who makes wall hangings, pillows, etc. from keepsake items. Although I knew it meant cutting up those precious dresses, I wanted them to be something I could see and enjoy every day.
She made me 2 pillows. They are made up of small squares from each of the dresses including the little pockets, buttons and ribbons. I love them!
I love that idea!! It’s so much better than keeping them hidden away.
Not ever planning on making a tee shirt quilt – but I did enjoy reading your post.
Grace & Peace,Iris
http://www.IrisOriginalsRamblings.com
Thanks, Iris. And thanks so much for subscribing.